
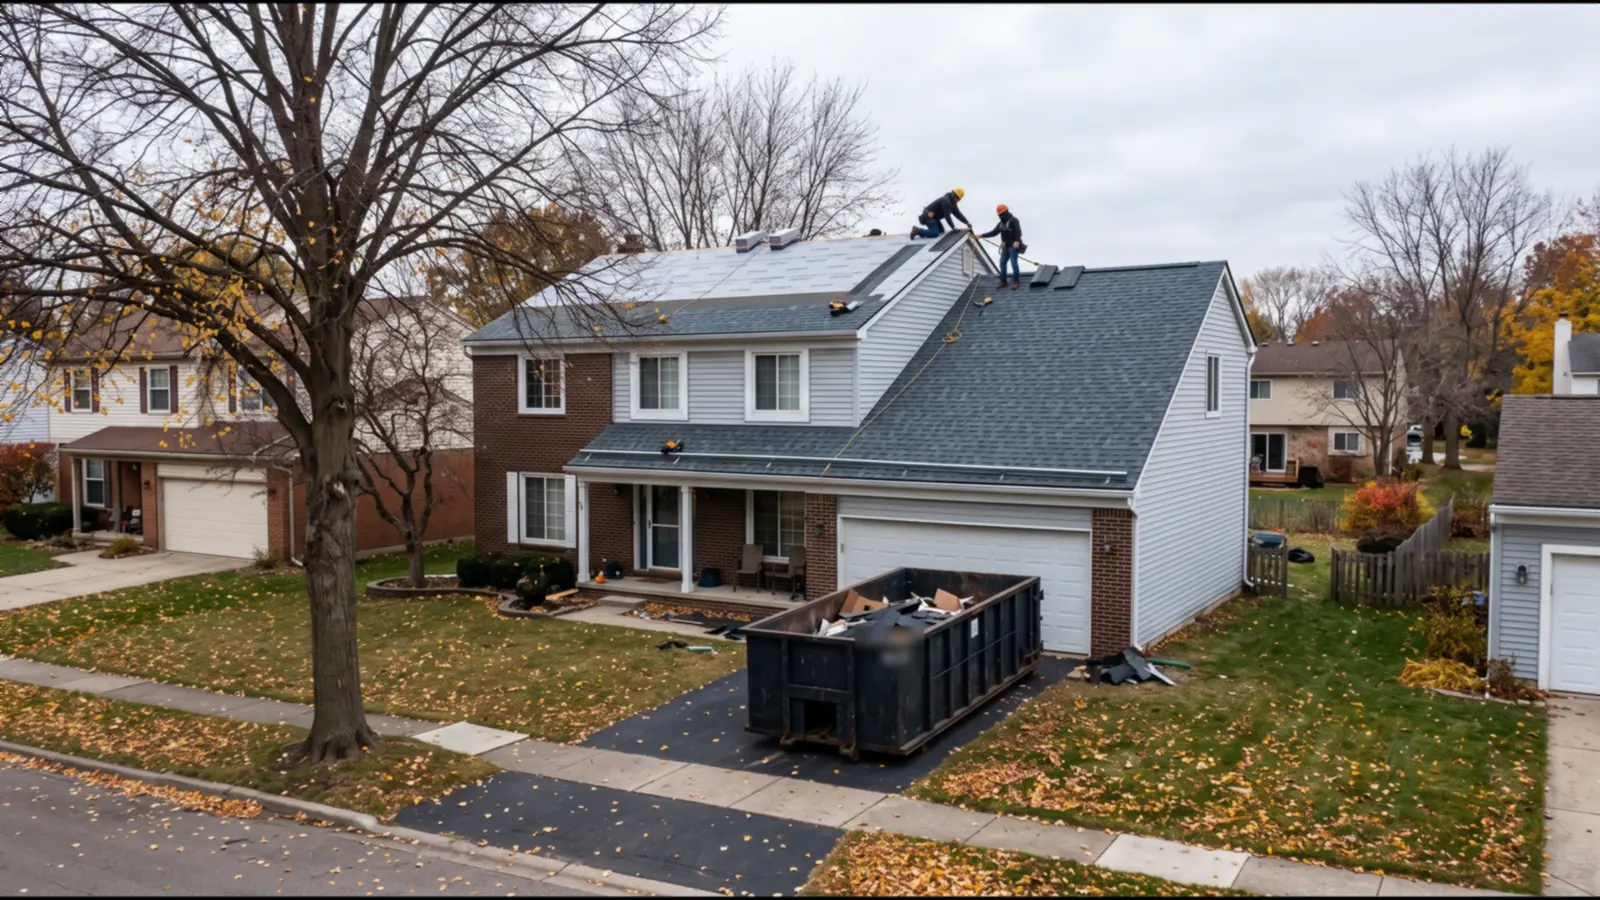
Chimney Flashing Repair Work, Layer by Layer
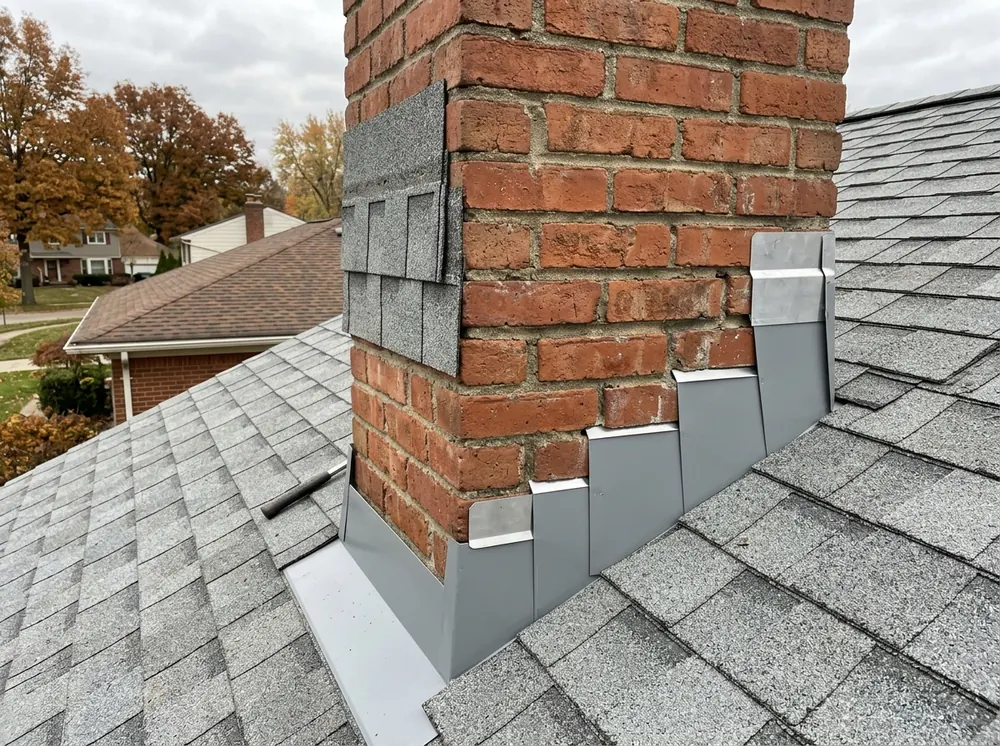
Base and Step Flashing at the Brick
The bottom layer does the real waterproofing. A one-piece apron (the base flashing) wraps the downhill face of the chimney and laps over the shingles below it. Up each side, step flashing goes in one L-shaped piece per shingle course, each piece lapped over the one below so water steps down and out. The International Residential Code calls for base flashing of corrosion-resistant metal at least 0.019 inch thick (No. 26 galvanized) or heavy mineral-surfaced roll roofing, and for sidewall pieces at least 4 inches up and 4 inches out. Common failures: a continuous L-strip where steps belong, nails through the vertical leg into the brick, and rusted pieces reused from an older roof. Fixing the sides means lifting the shingles along the chimney and weaving in new steps, course by course.
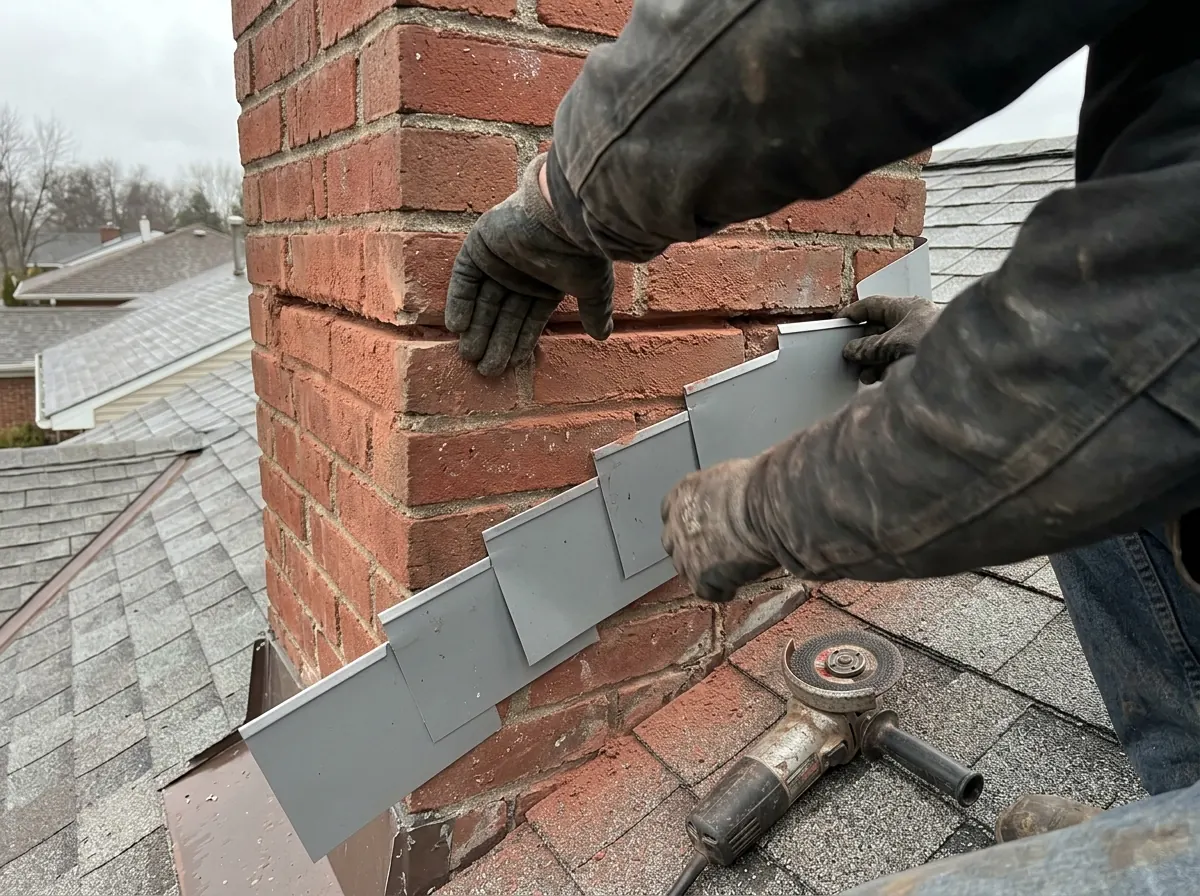
Counterflashing Ground Into Mortar Joints
Step flashing stops at the brick face, so something has to cover its top edge. That's the counterflashing (also called cap flashing), and the code wants it in corrosion-resistant metal at least 0.019 inch thick. Done properly, the roofer grinds a slot (a reglet) into a mortar joint, bends the top of the metal into it, wedges it, and seals the joint. On the sides it's cut in a stepped pattern that follows the brick courses. The shortcut version is a strip face-nailed to the brick with a bead of caulk along the top. Caulk ages much faster than the metal it holds. Once it lets go, water runs behind the strip and shows up as a stain on the ceiling beside the fireplace. On a leaking chimney, loose or caulk-only counterflashing is the first thing worth checking.
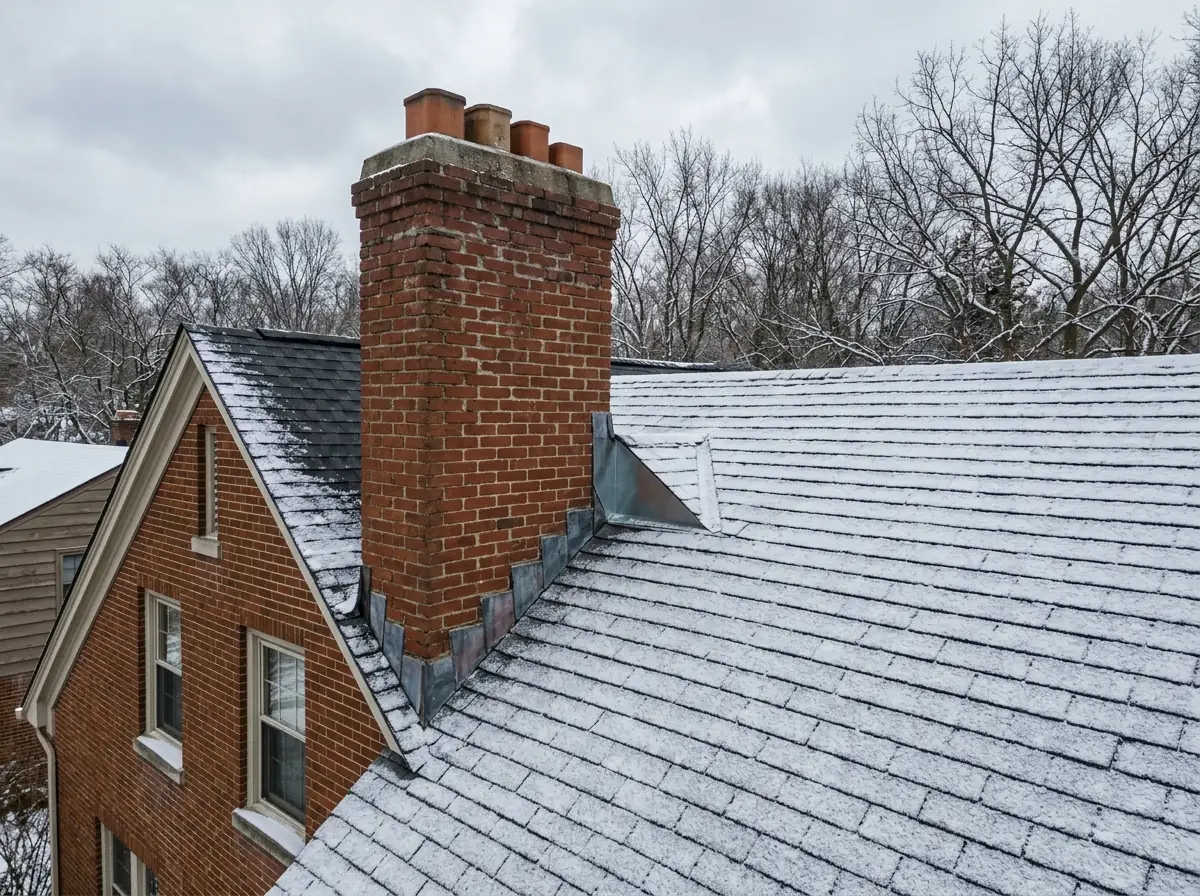
Back-of-Chimney Saddles
Water and snow sliding down the roof hit the uphill face of a chimney and stop. On a narrow stack the back flashing can handle that. On a wide one it can't, which is why the residential code requires a cricket (saddle) on the ridge side of any chimney more than 30 inches wide, unless the chimney sits at the ridge. The cricket is a small peaked frame that splits the flow around both sides, covered in sheet metal or the roof material and flashed and counterflashed like the chimney itself. The code even sizes its height from roof pitch: half the chimney's width on a 12:12 roof, a quarter on a 6:12 and an eighth on a 3:12. A wide chimney with no cricket and a rusted pocket of back flashing behind it should have one added during the repair.
Chimney Flashing on Metal Roofs
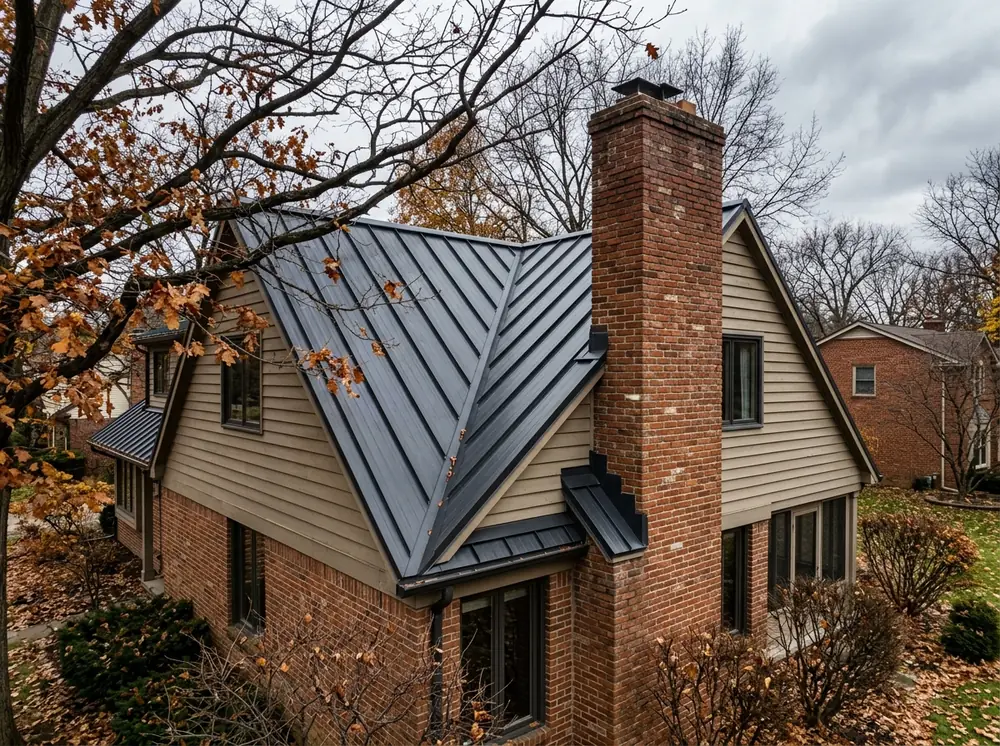
Standing seam and other metal panels can't take step flashing the way shingles do, because the panels run in one piece from ridge to eave. Instead, the panel ends are turned up against the chimney behind a closure, a cricket or diverter is built on the uphill side, and a counterflashing cut into the mortar laps over all of it. The flashing metal should match the panel metal, or at least be compatible with it, so the two don't corrode each other. The code applies the same logic to fasteners: galvanized for steel roofs, copper alloys or stainless for copper. Most panel makers publish their own chimney detail, and that's the one to follow. If you're replacing a shingle roof with metal, the chimney flashing is a new design, not the old pieces reused. More on panels is on the standing seam metal roof page.
Crown and Cap Leaks That Look Like Flashing
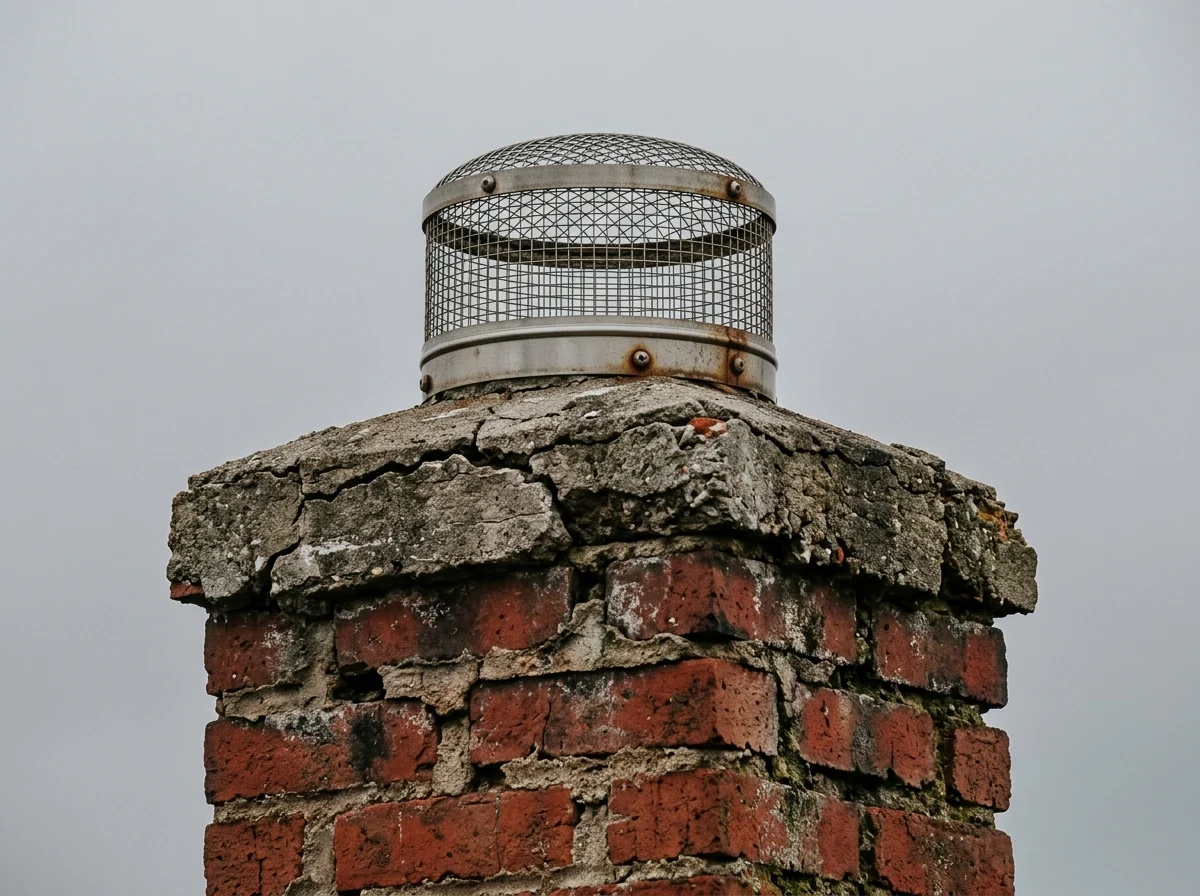
Some chimney leaks skip the flashing entirely and come in from the top. The code requires a masonry chimney to have a concrete, metal or stone cap (the crown), sloped to shed water, with a drip edge and a caulked bond break around the flue liner. A cracked or flat crown lets water into the brick below it, and an open flue with no rain cap lets water straight down the liner. Soft brick and missing mortar soak water up like a sponge and pass it into the house below the flashing line. A good inspection checks the crown, the cap and the brick before replacing perfectly good flashing. HomeGuide puts crown repair at $150 to $700 for small cracks and $600 to $1,500 or more for larger damage, and a new chimney cap at $200 to $850.
Why Sterling Heights homeowners call Sterling Heights Expert Roofing
- Free roof and attic inspection
- Itemized written estimate before any work
- Your request goes to one local roofer, not a call list
- Requests from inside Sterling Heights city limits
- Nothing to pay for the referral
Chimney Flashing Repair Pricing, Metal by Metal
HomeGuide puts chimney flashing repair at $300 to $1,800, depending on the chimney: about $300 to $1,200 for a small one and $500 to $1,800 for a large one. Resealing small cracks or a lifted edge can come in at $200 to $500. What moves your price:
Metal
Aluminum runs $5 to $10 per linear foot and lasts 15 to 20 years by HomeGuide's estimate. Galvanized steel is $6 to $10. Copper costs $15 to $30 a foot and lasts 50 to 100 years.Size and position
A small stack at the ridge needs less metal than a wide chimney halfway down the slope, which also needs a cricket.Pitch and height
A steep second-storey roof needs more setup and safety gear.Mortar work
Grinding new reglets, or repointing soft joints before the counterflashing goes in, adds masonry time.Shingle condition
Old, brittle shingles break when lifted, so the roofer may need to replace some around the chimney.
Ask the estimate to say which layers are replaced. "Reseal chimney" and "new step, base and cut-in counterflashing" are different jobs at different prices.
Chimney Flashing Repair or Full Reflash at Reroof: How to Choose
If the roof is fairly new and only the chimney leaks, repair the flashing now. Waiting costs decking and drywall.
If the roof is near the end of its life, it's usually better to wait for the reroof, tarp or patch the leak short-term, and let the flashing be done as part of the new roof. The residential code's reroofing section requires existing flashings, edgings, outlets and vents that are rusted, damaged or deteriorated to be replaced when the roof is redone, so rusty chimney flashing shouldn't go back on top of new shingles. Make sure your roof replacement estimate lists new step, base and counterflashing at the chimney as separate lines, and a cricket if the chimney is wide enough to need one.
Then there's the middle case: a roof with ten good years left and a chimney leaking from caulk-only counterflashing. That's a repair. Pay for the cut-in counterflashing and you won't pay twice when the roof is replaced, because the roofer can often keep good cut-in counterflashing and slip new steps under it.
Chimney Flashing Repair, From Attic to Crown
A careful repair tends to follow this order, and it's a fair checklist to hold a quote against.
- 1
Attic first
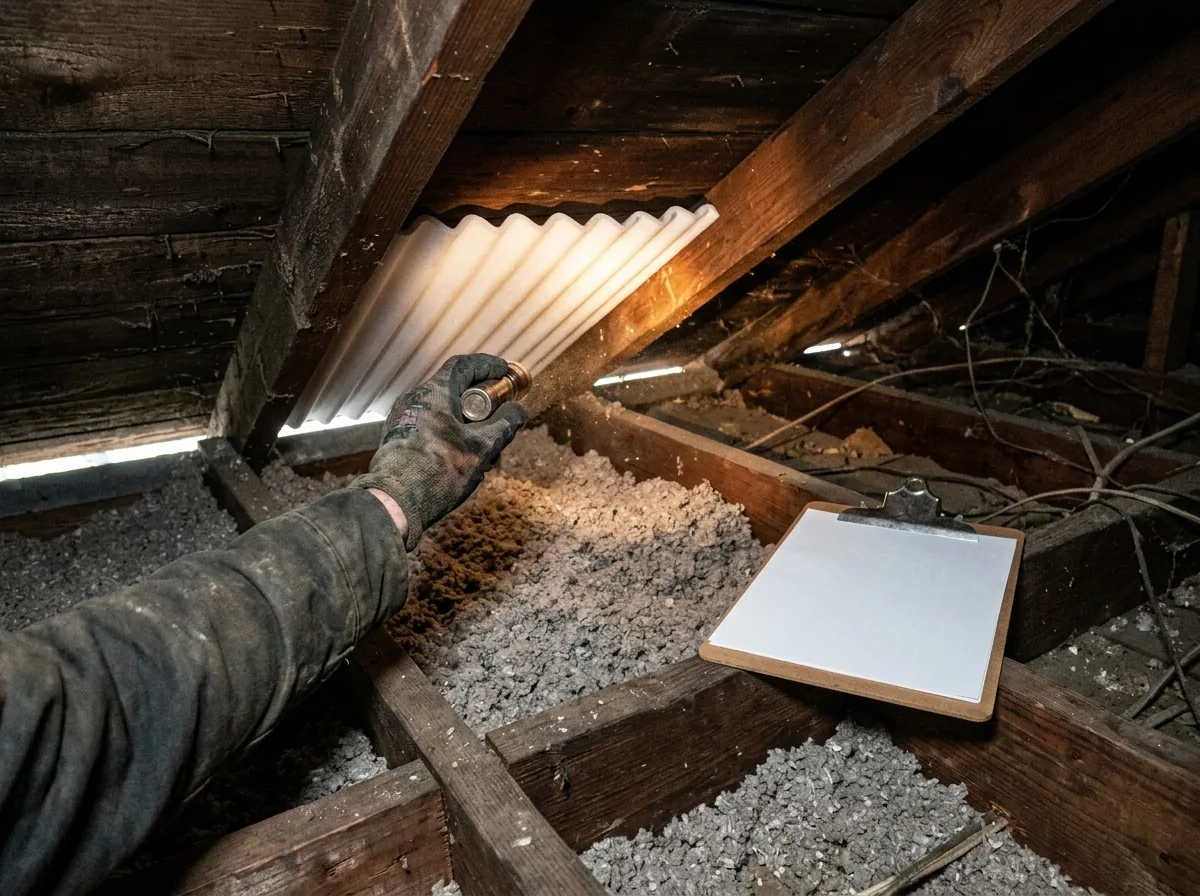
Find the wet framing around the chimney chase and note which side it's on. Water on the uphill side points to the back flashing or a missing cricket. Water on one side points to step flashing. - 2
Roof and masonry
Next, the flashing, the mortar joints, the crown and the flue cap, with photos of each. - 3
Written scope
Which layers get replaced, which metal, whether a cricket is added, and whether any masonry work is needed or sent to a mason. - 4
Repair
Shingles lifted around the stack, old metal out, new base, steps, saddle and counterflashing in, shingles relaid. - 5
Water test and cleanup
A hose run down the slope above the chimney, with someone watching in the attic, shows the leak is gone. The old metal and nails should leave in the trailer, not end up in the flower beds.
For leaks at walls, valleys and vent pipes rather than the chimney, see roof leak repair.